Step-by-Step Guide to Making A Lace Front Wig
The reign of lace front wigs in the wig industry is one that may never end. These wigs are beautiful, versatile, and attractive, and you can have them in different colors and sizes. That makes it the best choice for people who love to have different colors of wigs. It is also a suitable choice for when you want a long wig and the time you want a short wig. The most common sizes of lace front wigs include 4x4, 13x4, and 13x6. Of course, these hairs are longer and fuller than the other, but you can count on the beauty. If you are a hairstylist and you don’t know how to make a lace front wig, then you should try to learn. Luckily, all you need to do is continue reading this guide. We will explain how you can make a lace front wig in a step-by-step guide. Of course, you will need some tools, including adhesives, ventilating needles, lace, and many more.
Prepare the head
If you’re going to make a lace front for anyone, you need to make it right. The first thing you need to do is get the right size of the wearer’s head. Measure the length and the width of your hair and get accurate measurements. While measuring, you can use plastic nylon to mark out the points the lace front will stay. This size needs to be correct because that’s what you’ll use to sew the lace front. If you have transparent lace, you can cut it quickly, but if the dye is in a different color, you may need to dye it to your skin tone before you cut.
Ventilate the lace
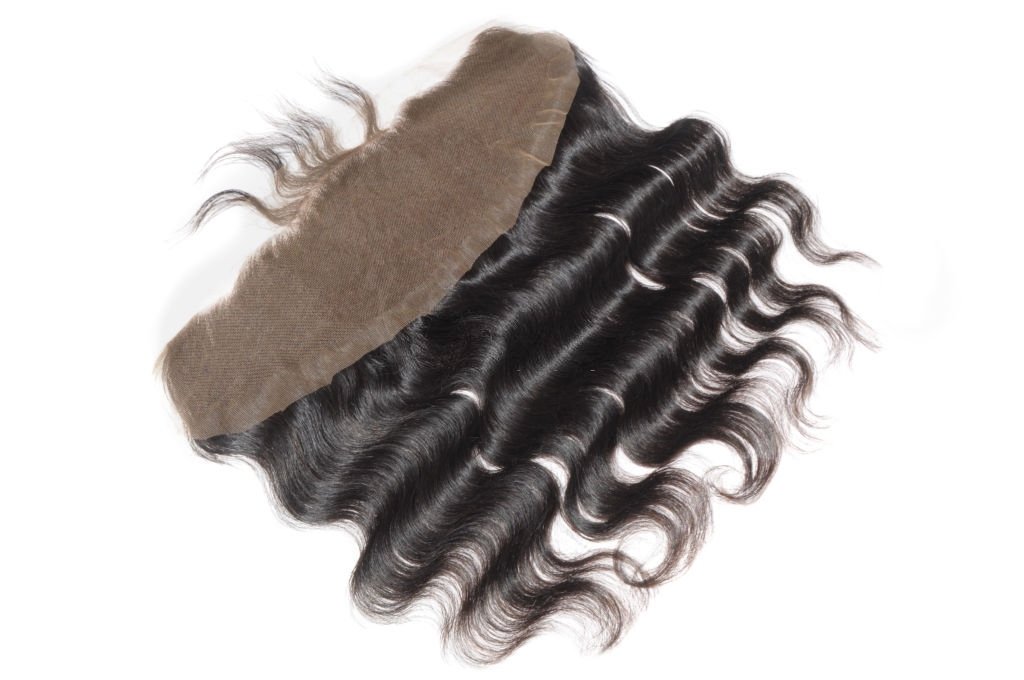
The primary process of making a lace front wig is known as ventilating. You will use ventilating needles to sew the hair into the lace. With some hair strands, on the one hand, you should have your ventilating needle on the other hand. The process is simple; pierce the lace with the ventilating needle and loop the hair into it. Be careful not to loop in too much hair at a time as it can cause irregularities. For every hair you pull with the ventilating needle, make a tight note and keep repeating the process. This process usually requires a lot of patience, as you will be spending hours working on it. After finishing the ventilating process, align the wig cap with the hairline and cut off the excess lace material.
Wear the wig
After making the lace front, wearing it is a bit challenging, but you have done the hard part. To wear the wig, you will use adhesive or tape. You may be allergic to either the adhesive or the tape, so you should do a mini test to check if it wouldn’t cause irritations on your skin. All you need to do is apply the adhesives on your skin around the hairline in front and at the back. After that, wear the wig and ensure it aligns appropriately, then adds some pressure.
Conclusion
If you are a newbie into the wig-making process, you can follow the process above, but we’ll advise that you use a cheap hair bundle to try it out.